This quick tour gives a brief overview of Compare and Merge's most important features.
We start by comparing two simple files.
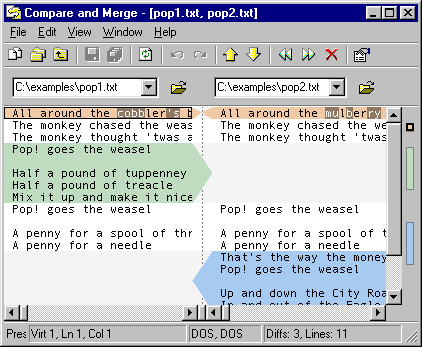
The top of the screen contains two edit boxes with buttons on the side:

Initially the edit boxes say <no file>.
First you need to tell Compare and Merge which files you want to compare.
You can click buttons (1) and (2) to select the files. You can also type in the edit boxes or select a recent file from the drop-down lists. It is also possible to drag-and-drop files into the window.
Once the file names are chosen, you click on Refresh to perform the file comparison.
After a few seconds the screen appears as below:

The colored sections/arrows indicate the differences between the two files.
To resolve a difference, you can type in either text pane. Compare and Merge works just like a text editor. As you type, the differences are recalculated on-the-fly.
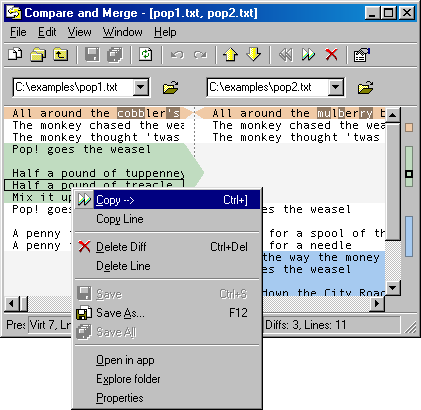
You can also right-click and choose an option from the popup menu:

Typically, you will have a folder full of files that you want to examine. It is possible with Compare And Merge to examine entire folders, saving you time.
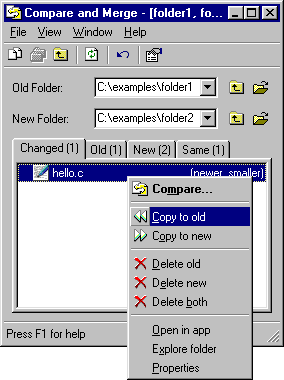
The Folder Window appears like below:

As before, the two edit boxes at the top determine what is being compared. After choosing the folders, you click on Refresh to compare them.
The four tabs in the bottom half of the window list the files that are changed, removed, added, and still the same.
You can right-click a file to perform actions on it:

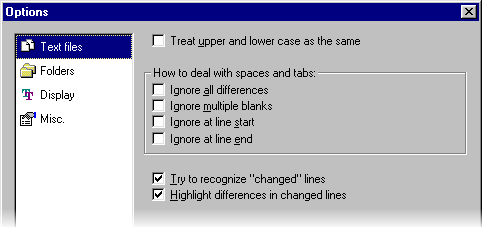
You can use the Options window to change the behavior of Compare and Merge:

There are various settings for comparing text files, for comparing folders and for displaying the results.
|

